Let's review how to adjust the pressure settings of a regular action well pump pressure switch. Most likely, your pressure switch arrives factory set to 30/50 PSI. You'll learn how to increase the pressure from 30/50 to 40/60 or lower the pressure from 30/50 to 20/40.

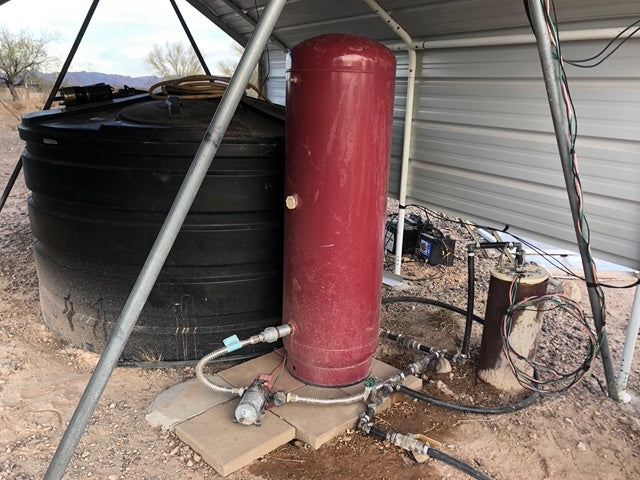
30/50 pressure setting refers to the low operating point (cut-in pressure in this case) and the high operating point (cut-out pressure) that determines when your pump turns on or off. A water pump pairs with a pressure switch by waiting for the pressure switch to tell the pump to turn on or off. Residential water pumps typically use this system. And usually, the pump and pressure switch are paired with a pressure tank. As the pressure in the tank drops to the cut-off pressure of 30 psi, the pressure switch tells the submersible pump to turn on. This is a common operation for deep well pumps. As the pump ramps up pressure and the tank reaches 50 psi, the switch shuts off the pump.

Pressure Switch Adjustment Diagram & Walkthrough
Take off the grey outer cover. You’ll see two springs with adjustable nuts. When a pressure switch is set to 30/50 psi, Nut #1 will be located about 1-⅝” from the bottom plate to top of the nut. A clockwise turn of the nut increases the pressure range. Nut #2 is located 1-1/4" from the bottom plate to the top when there is a 20 psi differential. These are your cut-out settings, and each nut controls specific pressure points.
Adjusting the Range with Nut #1
-
Changes the low operating point AND the high operating point simultaneously.
-
2-3 PSI change per full rotation. Use a nut driver for proper turning. Rotate Nut #1 clockwise to raise both operating pressures.
(Not Recommended) Adjusting the Differential with Nut #2
-
Increases or decreases High Operating Point ONLY, keeps Low Operating Point the same. 2-3 PSI per full turn.
-
Very hard to re-adjust back to the 20 PSI factory setting gap
-
DEADHEAD WARNING if the differential is adjusted up to a pressure that the pump is not able to produce (ex. 70 psi when the max head on the pump only allows for 60 psi). The pump will NOT SHUT OFF. Turn Nut #2 counterclockwise until the pump can successfully shut off
Be cautious: If pressure setting exceeds pump max output, the pump turns on but doesn’t shut off — risking damage. Use a pressure gauge to monitor real-time PSI changes as you make adjustments. Never forget to tighten the nuts when done to ensure safety.
Wiring
Adjusting Bladder / Pressure Tanks
A 2 psi difference between the tank and the switch cut-in ensures optimal cycling and prevents short cycling. This is important, as short cycling can significantly increase wear and tear, decreasing the lifetime of the pump.